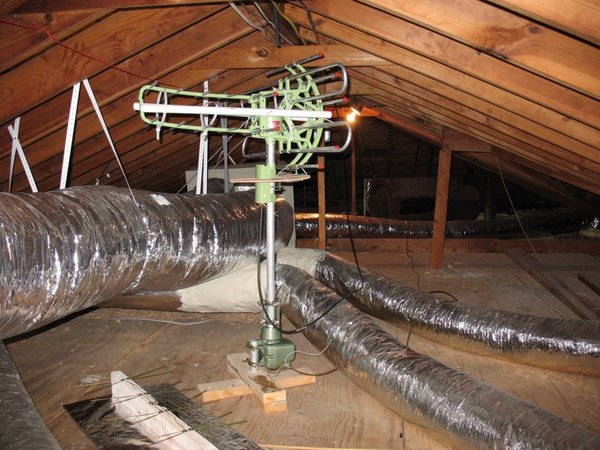
If you don't want to spend upwards of 70 bucks like I did on a not so great performing Yagi style antenna. Then build this diy hdtv antenna for almost nothing and get better results. My Yagi style antenna I got from ebay was pulling about 60-85 signal strength on most channels and ALWAYS would have continual dropouts making it impossible to watch Free OTA (over the air) digital HDTV. It always dropped out at the most inconvenient time. Another thing I hated about the yagi was it came with a rotor but the rotor had NO INDICATOR! You had no way of telling when the antenna was pointed in the right direction!!! That might work for analog signals you can watch come and go but is just ridiculous for digital signals! Digital signals are choppy, latent and very slow to respond with a moving antenna. Pointing must be very accurate for a strong digital signal. I found it was impossible to use a rotor without an indicator when positioning for a certain station. That is why you can see I have an old timey rotor in the setup. I built this bowtie style antenna in about an hour and can't believe the way it out performs that other antenna. Swear to GOD! I am hitting 88 to 99 signal strength on all my channels now with NO DROPOUTS AT ALL!!!!
Subscribe to:
Posts (Atom)
Step 1
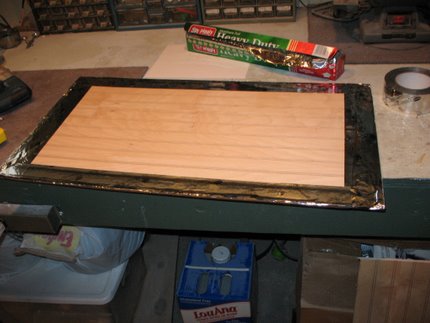
Get a piece of paneling, plywood or whatever you have lying around. Cardboard will even do. If you are making this for use outside, you need to get something like a couple of metal drying racks from the dollar store or grates from an old oven or the like. The board I used is about 30 inches by 16 inches.
Step 2
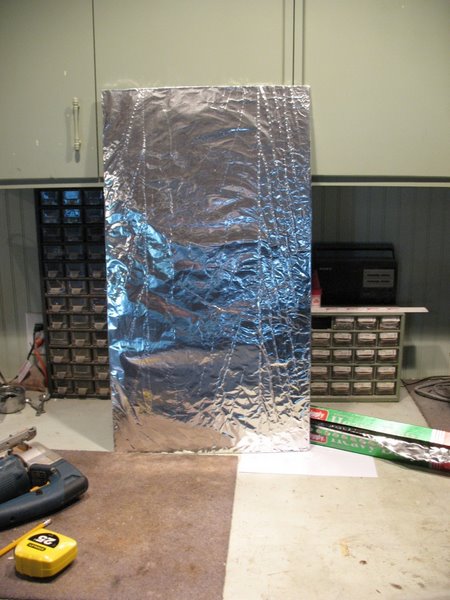
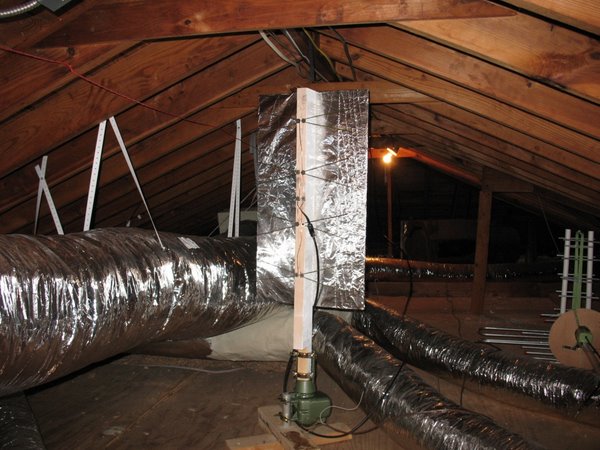
Wrap the board with aluminum foil. I used heat proof duct tape cause this is going in the attic.
Step 3
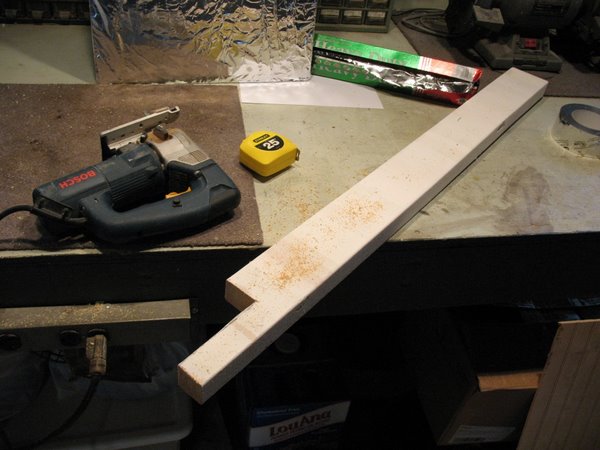
Cut a 2 X 4 to the proper length. My board was 30 inches tall and I had about 41 inches from the rotor to the rafters. So my board was 40 inches long with about a 5 inch notch cut in the bottom so I could mount it in the rotor.
Step 4
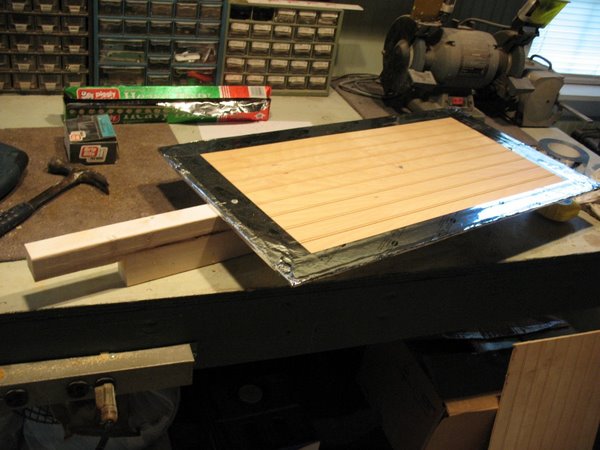
Lay the 2 X 4 down then lay the board face down on top of it and center it. Then nail it in place with some roofing nails or whatever you got on hand.
Step 5
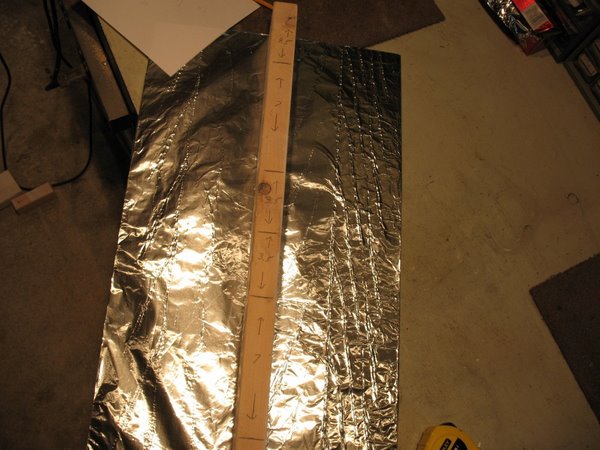
Measure out where your bow-ties will go. Mine were spaced 7 inches on center in the area of the board. The matching transformer is connected in the center of the bow-ties.
Step 6
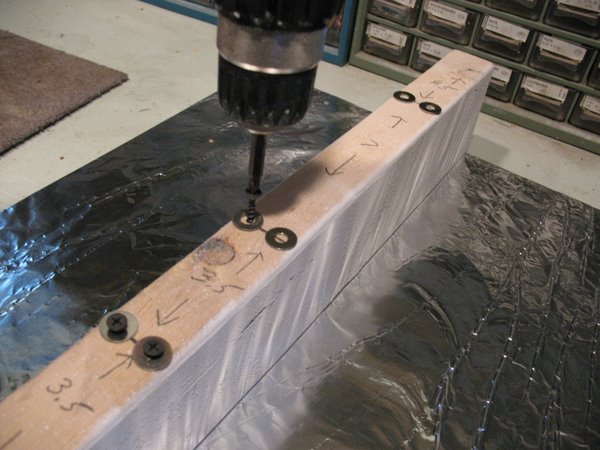
Grab some washers and screws being careful that the washers do not touch! Start the screws and then get 4 coat hangers. That's right coat hangers! Cut the "head" out of the coat hangers and cut the bottom in half so you have 2 "V's" from each hanger for a total of 8. Trim so that each V has legs 7 inches long. Hit the elbow of each V with a grinder or sand paper where it will contact the washer.
Step 7
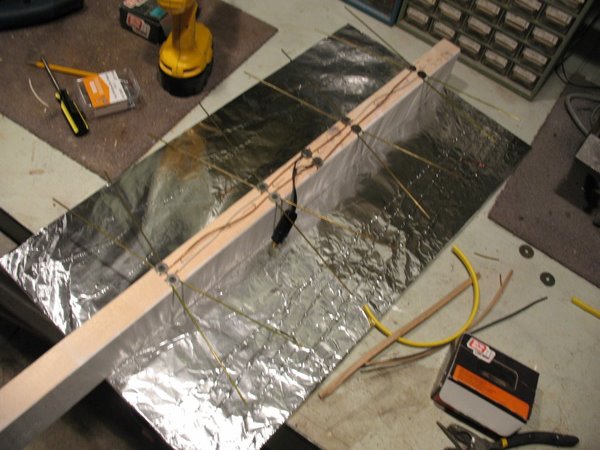
Now for the final assembly....I had some 12 guage romex wire but you can use more coat hanger wire or really any stiff wire you have on hand to do the hookup. Place your V under each washer along with the wire and tighten the screw. The wires will crisscross on the ends and at least one HAS TO BE INSULATED where they cross! For proper phasing you should make sure your wires and V's are all the same length. Connect your matching transformer in the middle (I used 2 extra washers there).
Step 8
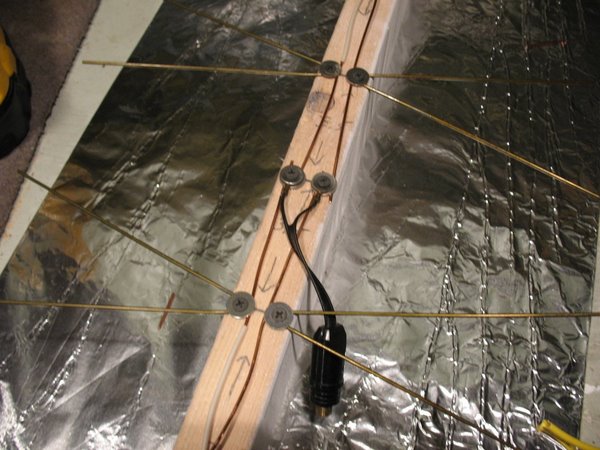
Check the spread of each V so they are uniform and parallel with the foil background.
Step 9
Say goodbye to that crappy Yagi antenna!
Step 10
Install your beautiful creation!
Step 11
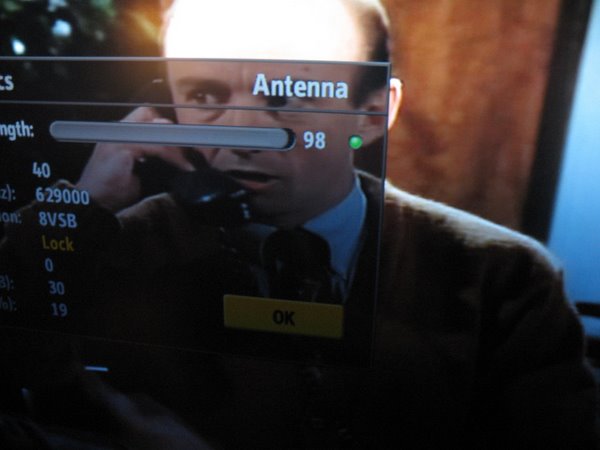
Enjoy a strong signal with no dropouts.